Camera functions of camera drones have become an important tool in modern photography, filmmaking and exploration. Do drone enthusiasts think that the initial camera settings have brought them amazing aerial photos? You can do better! See how the right camera settings can achieve the ideal picture effect?
Here we will give you a full introduction to drone camera settings to help you optimize drone camera settings so that you can shoot clear and colorful pictures.
Understand basic camera settings
Before you start using drone cameras, it is crucial to understand the basic settings of the camera. Here are the main parameters you need to master:
Resolution: Choosing the right resolution determines the clarity of images and videos. High-resolution photos are clearer and take up more memory. We recommend that you use at least 1080p camera drones and 4K camera drones.

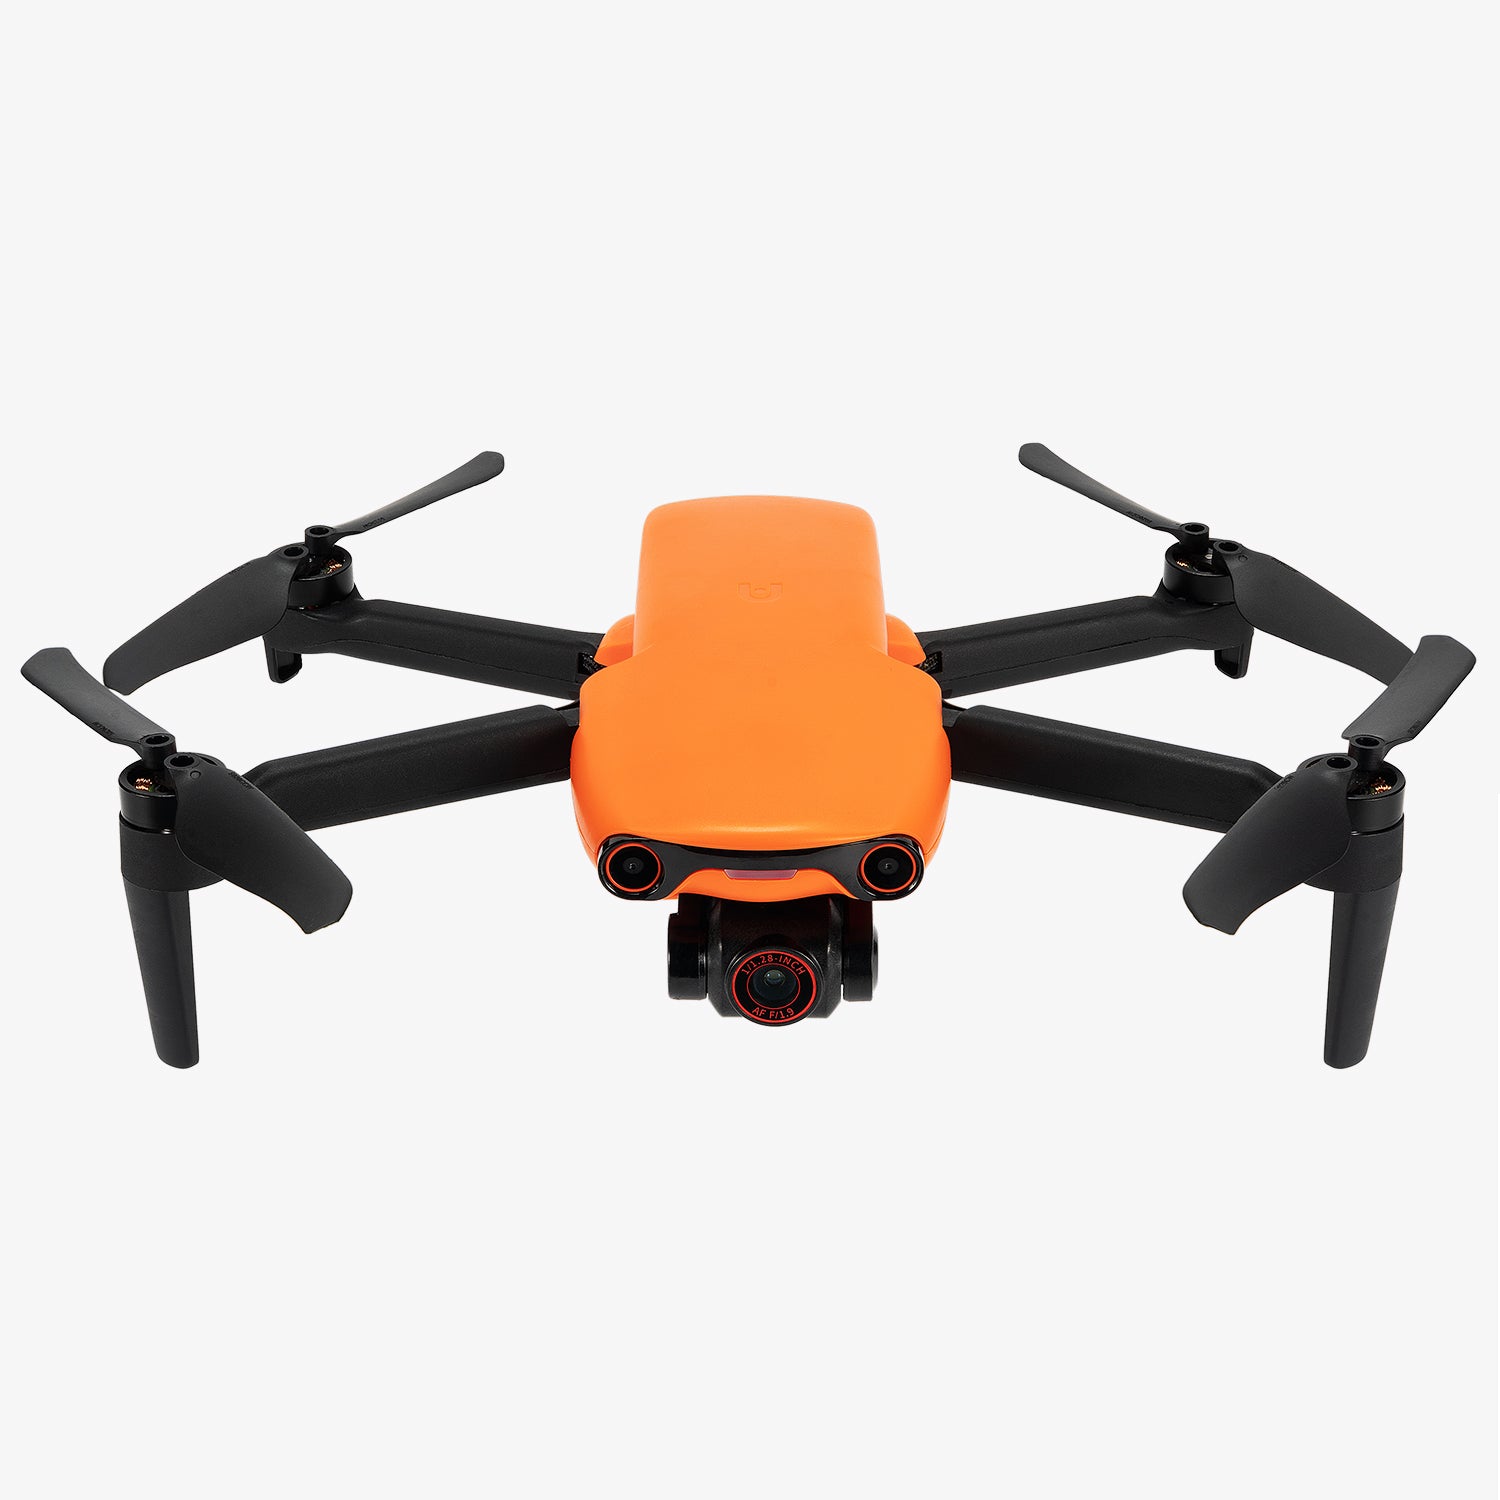
Frame rate (FPS): The frame rate determines the smoothness of the video. 24fps is a common frame rate for movies, while 60fps is suitable for high-speed sports pictures. Choosing a high frame rate helps to achieve slow motion effects in post-production. Usually, 4K camera drones match 30fps frame rates, such as Autel EVO Nano+.

Autel Robotics EVO Nano+ Drone Premium Bundle
$799.00 USD
ISO: ISO is the light sensitivity setting of your camera. A lower ISO (like 100 or 200) is suitable for well-lit conditions, while you may need to increase your ISO (like 800 or higher) in low-light environments. However, be aware that a high ISO will increase the noise in your image. You can fully experience the amazing visual effects of camera drones with higher ISOs when shooting at night.

Shutter Speed: Shutter speed determines how long the camera has to capture action. If you want to capture fast-moving objects or the drone itself is flying at high speed, the shutter speed should be set faster (like 1/1000 second), while slower speeds (like 1/60 second) can be used for landscapes.
White Balance: The white balance setting determines the color accuracy of the image. You can choose a preset such as "Daylight", "Cloudy" or "Tungsten Light" based on the current lighting environment, or you can adjust it manually for a more natural color effect.
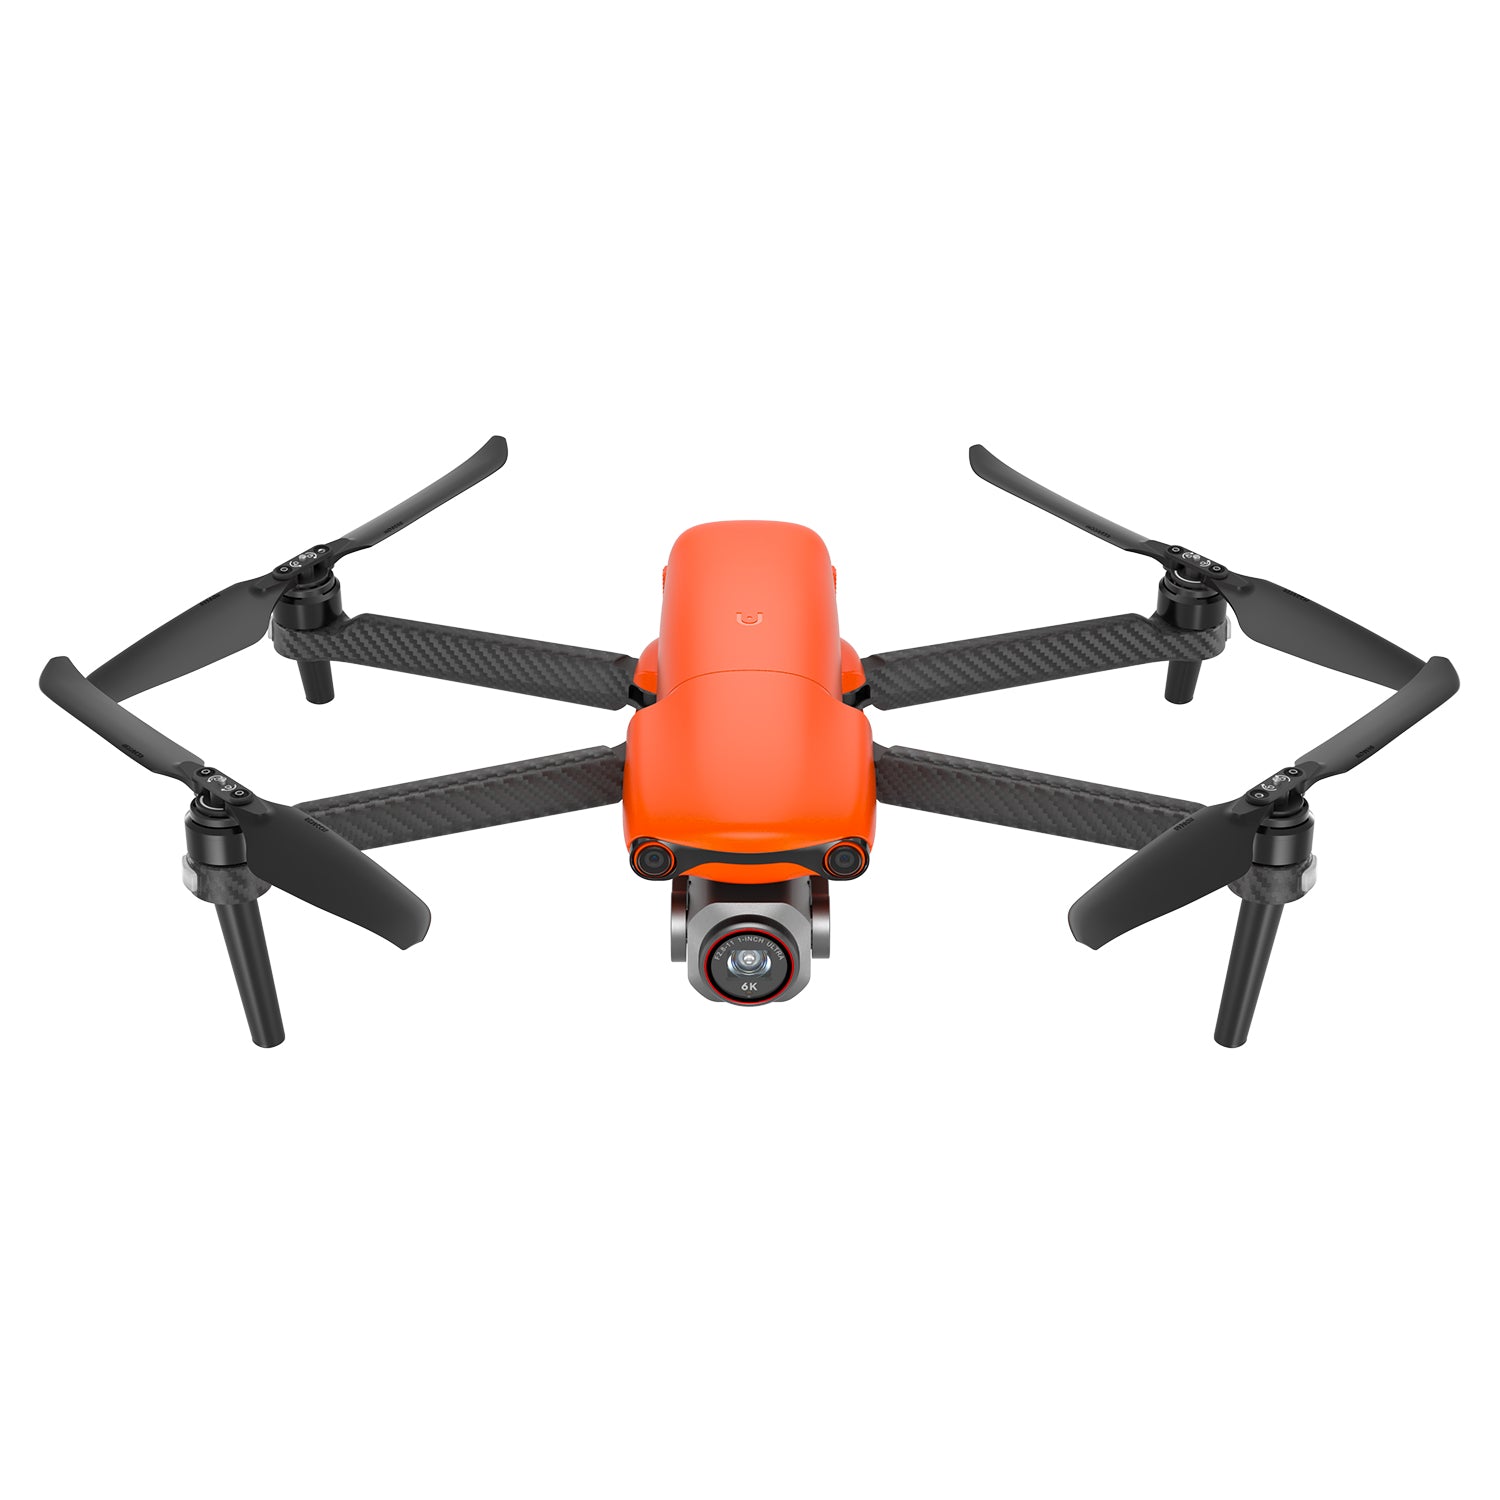
Aperture: The EVO Lite+ and EVO II PRO V3 camera drones have aperture adjustment, f/2.8-f/11. The lower the number displayed, the brighter the image. The higher the number displayed, the darker the image. At the same time, the aperture changes bring about a higher or lower depth of field. The smaller the aperture value, the smaller the focus range of the image and the greater the depth of field.


Autel Robotics EVO Lite+ Drone Premium Bundle
$1399.00 USD
EV (Exposure Value): The EV or "Exposure Value" setting is a very quick and easy way to adjust the brightness or darkness of the image without fiddling with individual settings and keeping the camera in automatic mode.
All camera settings can only achieve the best results in practice! In the specific scene of drone photography, we often adjust not only one setting, but also adjust them in coordination with each other to achieve the best effect.
View More: Drone Beginner Camera Manual Setup Guide
How to optimize camera settings?
When shooting, we recommend that you turn on the grid line settings and histogram in advance, which will correct your framing distortion and help you adjust overexposure and underexposure.

For landscape static shooting, we recommend that you use high resolution (such as 4K), lower frame rate (such as 24fps), low ISO (100), shutter speed 1/60 second, long-range manual focus and other settings to present the beauty of natural scenery in the picture. Finally, save the photo format in RAW format to save more image details and color information for later adjustment.
For dynamic images, the drone's automatic tracking function can keep tracking people and vehicles, freeing your hands. Of course, you can also track and shoot manually. Increase the frame rate (such as 60fps or 120fps) to provide a smoother picture, set the shutter speed to 1/500 second or faster, and increase the flight speed of the drone to ensure that the picture is clear even if the subject moves quickly.
How to adjust the camera settings in different light conditions?
Changes in light have a huge impact on the shooting effect. Whether it is mobile phone photography, camera photography or drone photography, it will be affected by light. Therefore, it is crucial to adjust the camera settings according to different lighting conditions.

Sunrise/Sunset: The light at this time is soft and suitable for landscape photography. It is recommended to set the ISO to 100-200, the shutter speed is slower (such as 1/60 second), and manually adjust the white balance to adapt to the changes in the light tone.
In strong sunlight: In the case of strong sunlight, appropriately reduce the ISO and choose a faster shutter speed (such as 1/1000 second) to avoid overexposure of the picture.
Low light environment: In low light conditions, such as dusk or night, increase the ISO appropriately (such as 800 or 1600), but at the same time pay attention to noise control. Consider using a slower shutter speed (such as 1/30 second) to increase exposure.
How to post-process drone footage?
Drone shooting skills require a lot of practice, but don't forget that image post-processing can help us restore the appeal of photos. Don't forget to save in RAW format.
Color correction: Adjust white balance and color saturation to make the colors of the picture more vivid. The advantage of shooting RAW format photos is that you can adjust these parameters more flexibly during post-processing.
View More: Drone Imaging: The Difference Between JPEG and RAW
Stabilize the picture: Drone videos are also editable. During the high-speed flight of drones, the shaking of the picture can be further smoothed by using the stabilization tool in the video editing software.
Cropping and composition: In post-processing, you can improve the composition or remove unwanted elements by cropping to make the picture more artistic.
Summary
The settings of the drone camera are the key factors that determine the shooting effect. By properly adjusting parameters such as resolution, frame rate, ISO, shutter speed, etc., you can capture amazing aerial beauty. Whether it’s bright daytime or tricky low-light conditions, being able to flexibly handle different shooting conditions can help you achieve more professional results.
Now it’s time to take off and explore the stunning autumn scenery!
Related More:
Camera Drone | Portrait Shooting of Movies and Short Videos
Mechanical Shutter VS Electronic Shutter
Drone Cameras: A Beginner's Guide
Drone Camera Problems: 5 Frequently Asked Questions Answered


